 Un bouton d'or
Un bouton d'or
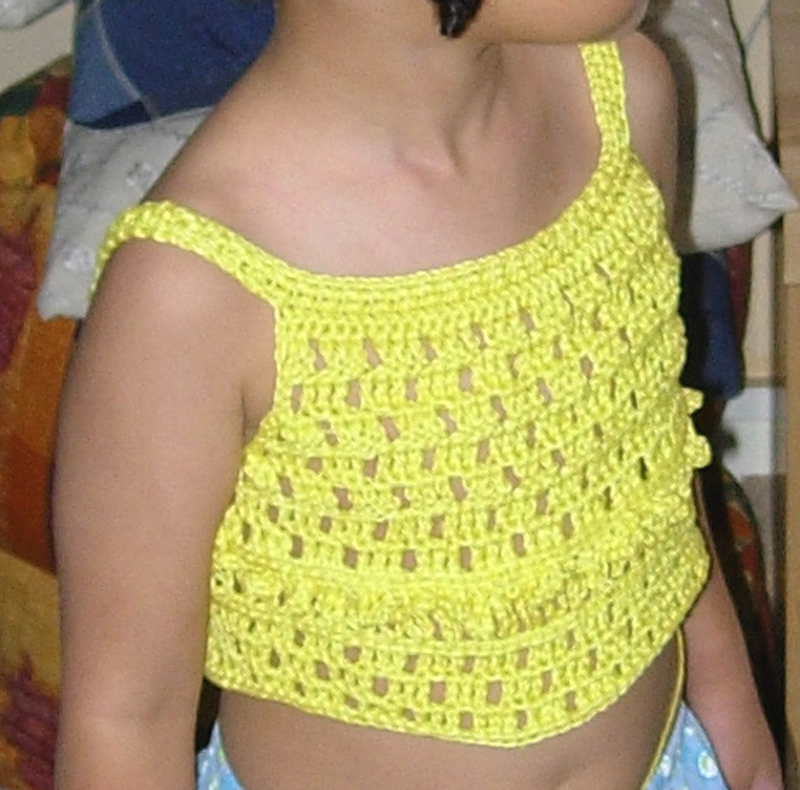
Done! The yellow top I was crocheting for my daughter is done now! And as it's a vibrant butteryyellow, I chose the name of the yellow buttery flower that sparkles in the fields around here (don't remember its name in English buttercup in English, thanks Clearwaters ![]() )
)
It was fast, I only lacked time to talk about it! I'll try to write the pattern soon
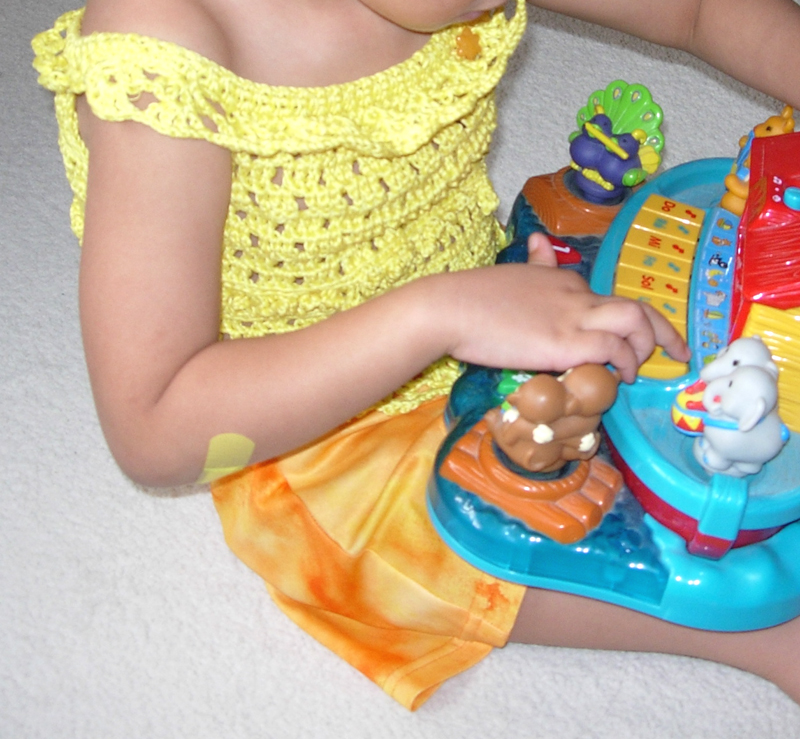
and in the meantime, I hope I'll have a picture of my little one modeling it... but untill then, enjoy those!
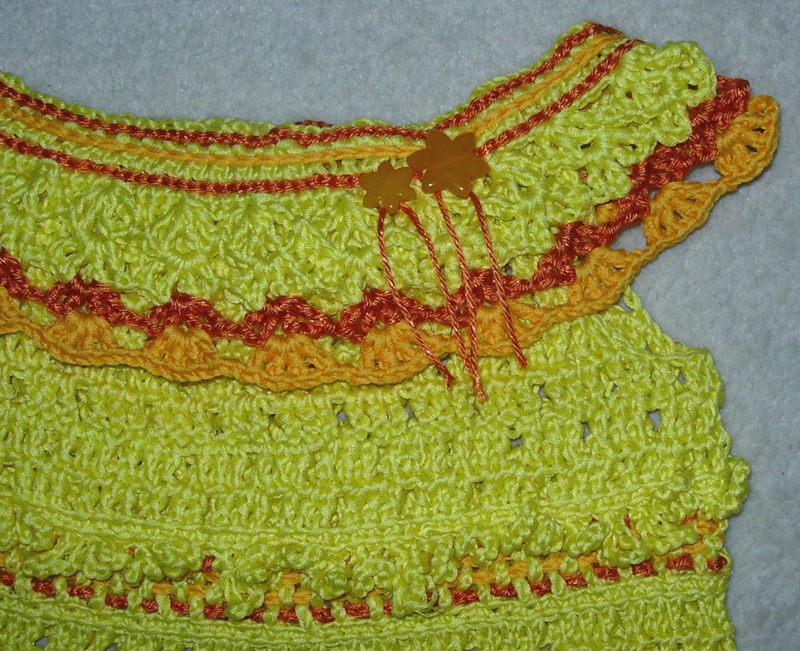
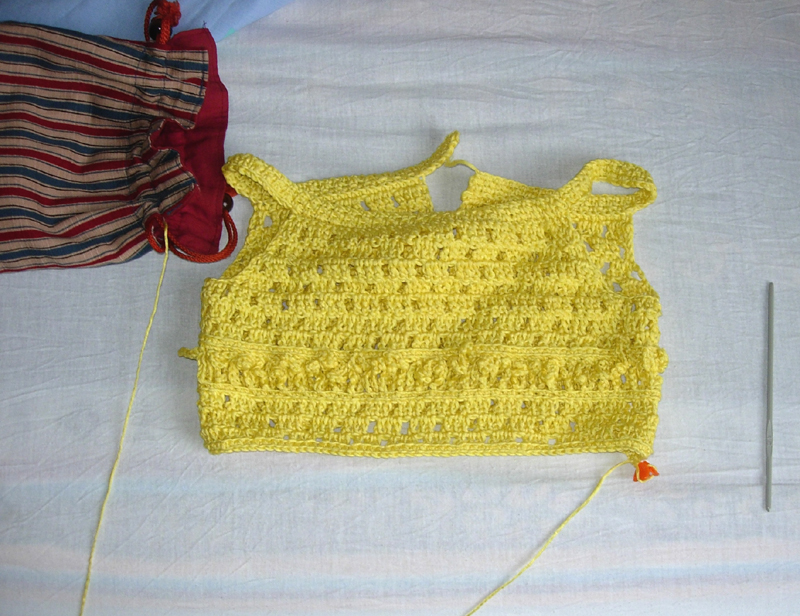
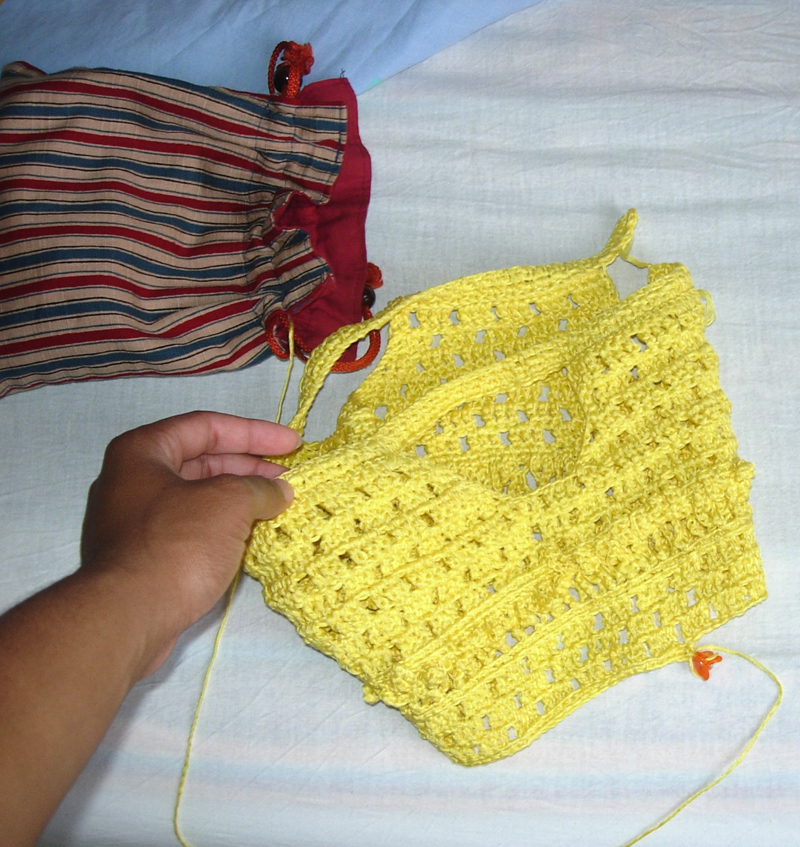
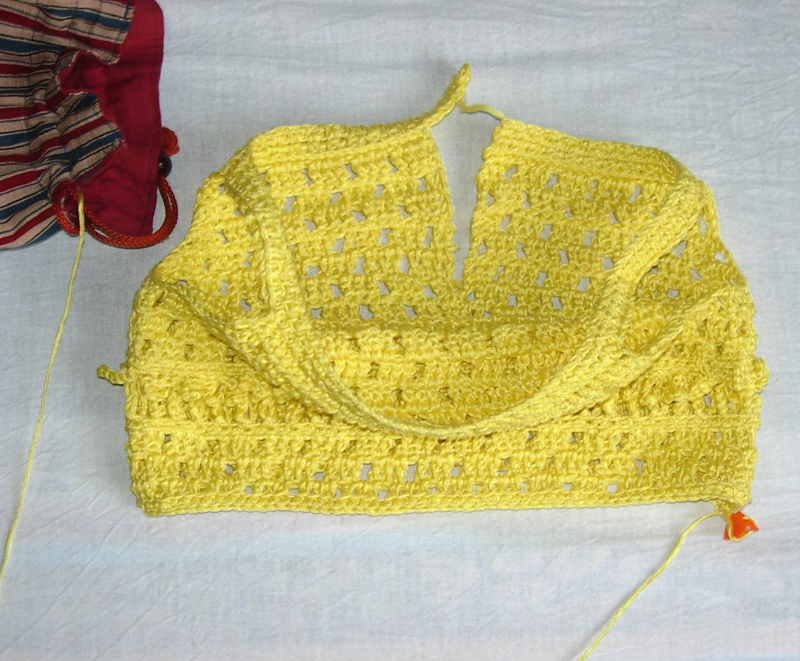
Here are the pictures of the first version. At that time, I was thinking of weaving an orange ribbon into the central pannel I just hadn't had time to buy one. I wasn't satisfied with the outcome though... too yellow to my liking... So later on I dug orange yarn out of my stash and did a little tapering.


Follow up:
In the beginning I didn't know where I was going, I just knew i wanted something simple and cute... The body went quickly though.
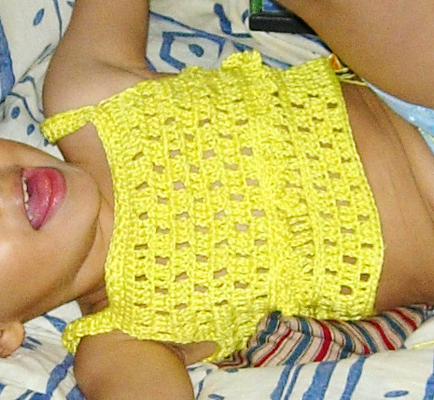
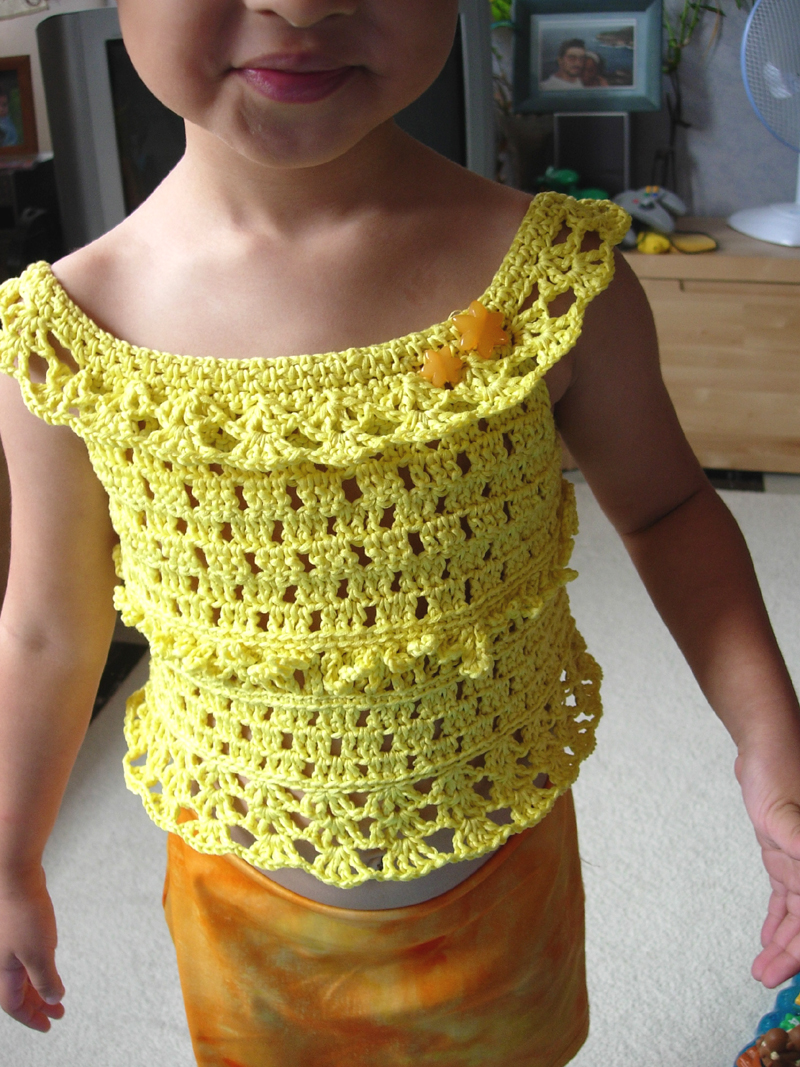
Version 2. Finished and satisfactory!
.jpg)
.jpg)
.jpg)
.jpg)
.jpg)
Ok! I can't sleep, so here's the pattern.
It's more like guidelines but I hope it's clear enough, don't hesitate if you have question, ask away!
Bouton d'or
a free pattern by Pyogazel.
Pattern intended for your personal use only. No commercial use. Please do not post it on another site, link to this page.

swatch gauge : brique alternées stitch, 10 X 10 cm = 5 pattern X 5 rows, lacy fan stitch, 10 X 10 cm = 4,5 patterns X 7 rows.
Yarn: "Louxor" (100% mercerised cotton Sport / 5 ply yarn by anny blatt, 153 yards = 50 grams, 12 wpi) in yellow ("LEMON", approximately one skein and a half) and orange ("MANGUE", about 50 m),
"Canelis" ( 30%rayon 70% acrylic Sport / 5 ply,yarn by Phildar, 128 yards = 50 grams, 12 wpi ) in orange ("PIMENT", about 50 m).
Crochet hook : aluminium 3mm.
Size : shown : child 4 to 6 years old. Fit to individual measurements as you construct the garment.
Stitches : slip stitch, single crochet, back loop single crochet, chain stitch, brique alternée stitch, fringy web stitch and lacy fan stitch (see diagrams below for those).
Other materials needed : cute buttons, at least 2,
ribbons, optional, one in orange, two in rust.
Stitches
May be they exist already but I don't know, I "created" them while free handing this top, hence the funny names...
fringy web stitch
brique alternée stitch
lacy fan stitch (see the ruffles' graphs)
Instructions
- r1 : a chain long enough to lay across the chets, on the shoulders and be fastened in the back easily.
- r2: 1 chain stitch to turn, 1 single crochet into the last chain stitch of the foundation chain, *crochet 1 single crochet, 1 chain stitch *, repeat **, finish the row with a single crochet.
- r3: 1 chain stitch to turn, 1 single crochet into the last single crochet of the previous row,*crochet 1 chain stitch, 1 single crochet*, repeat **, finish the row with a single crochet.
- r4: 1 chain stitch to turn, 1 single crochet into the last single crochet of the previous row,*crochet 1 single crochet, 1 chain stitch *, repeat **, finish the row with a single crochet.
- r5: same as r3
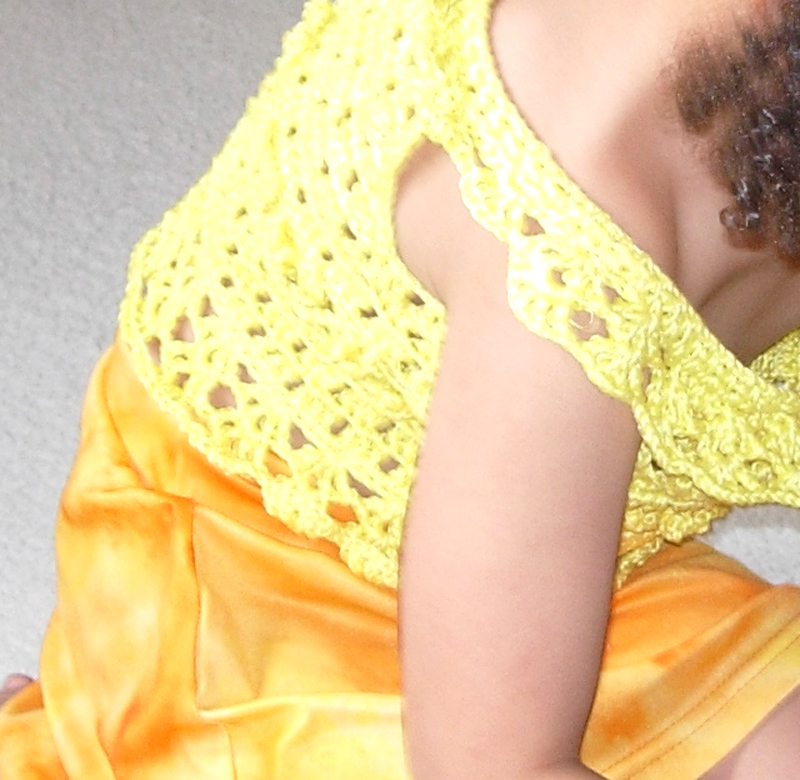
- Try the project on the child, mark where the armholes should be (4 marks). Lay the project flat to make sure thoses marks are symmetrical. Count the nmber of stitches thay lay above one shoulder from mark to mark, this number N will help you compute the number of stitches needed for the armhole : N+(N/3).

- r6: 1 chain stitch to turn, 1 single crochet into the last single crochet of the previous row,*crochet 1 single crochet, 1 chain stitch *, repeat ** untill you reach the first armhole mark (this is the first half of the back) crochet N+(n/3) chain stitches skipping N stitches (this is the first armhole).
crochet 1 single crochet at the second armhole mark, *crochet 1 single crochet, 1 chain stitch *, repeat ** untill you reach the third armhole mark (this is the front of the top) crochet N+(n/3) chain stitches skipping N stitches (this is the second armhole), crochet 1 single crochet at the fourth armhole mark, *crochet 1 single crochet, 1 chain stitch *, repeat ** untill you reach the end of the row, finish with a single crochet.
Try the project on the child again and make sure the armholes are not too tight or the back too lose. - r7 to 10 : In order to build the armholes, work in rows the two halves of the back and the front in the following way :
- r7 and r8 for the first half of the back : 3 chain stitches, *crochet 3 double crochets, 1 chain stitch, 3 double crochets*, repeat ** untill you reach the armhole, 1 slip stitch in the third chain stitch of the armhole, 3 back loop slipstitches in the following stitches, turn the project *crochet 1 chain stitch, 3 double crochets, 1 chain stitch*, repeat **, finish the row with a double crochet. (see graph below).
- r9 and r10for the first half of the back : 3 chain stitches, *crochet 3 double crochets, 1 chain stitch, 3 double crochets*, repeat ** untill you reach the armhole, 2 double crochet in the last stitch of the row, 1 slip stitch in the third chain stitch just above, 3 back loop slipstitches in the following stitches, turn the project,
2 double crochet in the last stitch of the previous row, *crochet 1 chain stitch, 3 double crochets, 1 chain stitch*, repeat **, finish the row with a double crochet. (see graph below).

- Cut the yarn, crochet the other half of the back and the front in the same manner.
- r11 : From now on, the body of the top is worked in rounds.
r11 to 13 : 3 chain stitches, 2 double crochets, 1 chain stitch, then *crochet 3 double crochets, 1 chain stitch, 3 double crochets*, repeat ** untill the end of the round, fasten the round with a slip stitch in the third chain stitch beginning it. 3 chain stitches, 1 double crochet, 1 chain stitch, then *crochet 3 double crochets, 1 chain stitch, 3 double crochets*, repeat ** untill the end of the round, finish with 1 double crochet, fasten the round with a slip stitch in the third chain stitch beginning it. 3 chain stitches, 2 double crochets, 1 chain stitch, then *crochet 3 double crochets, 1 chain stitch, 3 double crochets*, repeat ** untill the end of the round, fasten the round with a slip stitch in the third chain stitch beginning it.. - r14 and 15: back loop single crochet.
- r16 and 17: fringy web stitch (see graph, the green part is not compulsory, you can give it up if you don't want a fringe or if you'r eafraid you might run out of yarn).
- r18 : back loop single crochet.
- r19 to 21 : brique alternées stitch.
- r22 : back loop single crochet.
- r23 to 28 : Ruffle. Lacy fan stitch (see graph).

- collar :
- Ruffle : work in rows (see graph)
at the end of the last row, don't cut the yarn, chain stitch and slip stitch your way to the beginning of the project, the "collar" and embroider the center of it with slip stitches. - Embroidery : embroider 3 lines of slip stitches, start in the middle with the orange yarn of the last row of the ruffle, then cut the yarn,
then, with the rusty yarn, embroider a rectangle surrounding the central orange line inside the "collar", finish with a button hole at the end of the "collar" : 6 chain stitches.

- Ruffle : work in rows (see graph)
- Finish it!:
Either buy 3 ribbons or crochet 3 chains, each one long enough to circle the bust, one in orange, two in rust, weave them into the fringy web. Weave in all ends. Sew the buttons, 1 or 2 in the front to decorate and one in the back to close the top...
Have it joyfully worn by a little princess!
6 comments

An adult version? Hmm... I never thought of it... Yes, why not, but only when the warm days are back! it's getting chilly out there!

Comments are closed for this post.
